
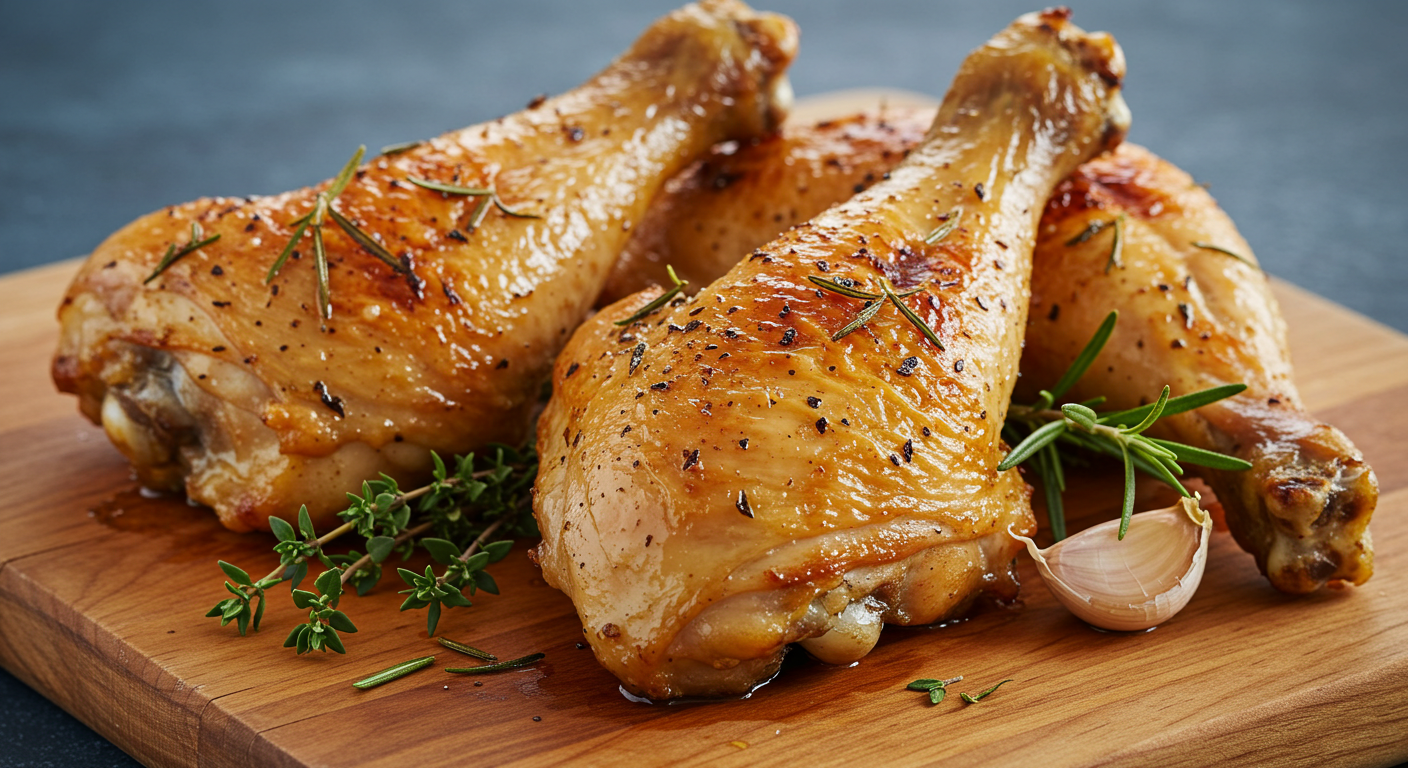
Baked Chicken leg quarters are a go-to dinner option for many households. They’re inexpensive, incredibly flavorful, and—when prepared just right—yield moist, tender meat with crispy, golden skin. But getting that perfect texture and taste can feel like a daunting task.
If you’ve found yourself googling “How to bake chicken leg quarters perfectly,” or struggling between recipes that all seem too complicated, this guide is for you. Here, we’ll walk you through every step of preparing irresistible baked chicken leg quarters, highlight essential tips, and explore variations to suit different tastes.
Whether it’s your first try or you’re a seasoned home chef, by the end of this article, you’ll have all the tools you need to impress with this versatile dish.
Why Chicken Leg Quarters?
Chicken leg quarters are a combination of both the thigh and the drumstick, making them a hearty, satisfying option for dinner. But there are many other reasons to choose these cuts:
- Affordable and Economical:
When compared to chicken breasts, leg quarters are notably less expensive. This makes them ideal for feeding a family or preparing multiple meals on a budget.
- Rich, Flavorful Meat:
Thanks to the dark meat, they naturally have a richer, more robust taste. Additionally, the skin and fat content help retain moisture while baking.
- Versatility:
Chicken leg quarters adapt beautifully to an array of marinades, spice rubs, and side dishes, making them suited to various cuisines.
Now that you know why these cuts deserve a permanent spot in your meal rotations, here’s how to prepare them.
Preparing Your Chicken Leg Quarters
Step 1: Choose Quality Ingredients
The base of any great dish is quality ingredients. Look for fresh (or properly thawed) chicken leg quarters. Opt for organic or free-range chicken if possible, as they tend to have a slightly better flavor and texture.
Step 2: Dry the Skin for Crispiness
One of the secrets to achieving perfectly crispy skin is to start with completely dry chicken. After rinsing the chicken leg quarters under cold water, pat them thoroughly dry using paper towels.
For an even crispier finish, you can leave the chicken uncovered in the refrigerator for 30 minutes or so beforehand. This air-drying step helps wick away moisture from the surface of the skin.
Step 3: Season Generously
Good seasoning is key to building flavor. Start with salt and pepper as your base. Afterward, consider any of these popular seasoning blends to customize your chicken:
- Classic Garlic and Herb:
Combine garlic powder, onion powder, dried rosemary, thyme, and a touch of paprika for color.
- Lemon Pepper:
Add freshly grated lemon zest to black pepper and salt for a citrusy twist.
- Smoky Barbecue:
Use smoked paprika, chili powder, brown sugar, and a hint of cayenne for some heat.
Marinate your chicken leg quarters for at least 20–30 minutes for maximum flavor—though letting them sit overnight in the refrigerator yields the best results.
How to Bake Chicken Leg Quarters
Here’s the tried-and-true method for baking chicken leg quarters that strikes a balance between juicy meat and perfectly crispy skin.
Step 1: Preheat the Oven
Preheat your oven to 400°F (200°C). This temperature is ideal for achieving a balance between crisping the skin and cooking the meat thoroughly.
Step 2: Prep Your Baking Dish
Line a baking dish or sheet with parchment paper or foil (for easier cleanup). Place an oven-safe wire rack on top of your tray to elevate the chicken. This allows air to circulate around the chicken while baking, resulting in a crispier finish.
Step 3: Arrange and Brush with Oil
Place your seasoned chicken leg quarters skin-side up on the wire rack. Lightly brush or spray the chicken with olive oil to help the skin crisp up and lock in the seasoning during baking.
Step 4: Bake and Monitor
Bake your chicken for roughly 35–45 minutes. Use a meat thermometer to check that the internal temperature reaches a safe 165°F (74°C). For extra crispy skin, finish the chicken under the broiler for 2–3 minutes, keeping a close eye on it to prevent burning.
Tips and Tricks for Perfect Results
- Don’t Overcrowd:
Ensure there’s enough space around each piece of chicken to allow for even heat circulation.
- Use a Thermometer:
A meat thermometer is your best friend. It ensures you don’t undercook or overcook your chicken.
- Rest the Chicken:
Allow the chicken to rest for at least 5–10 minutes after baking. This step helps redistribute the juices, keeping the meat moist.
Flavor Variations to Try
The beauty of baked chicken leg quarters lies in their ability to pair well with a range of flavors. Here are some ideas:
- Asian-Inspired:
Marinate your chicken in soy sauce, ginger, garlic, and a drizzle of honey or sesame oil.
- Mediterranean:
Use olive oil, oregano, lemon, and garlic for a bright, fresh flavor profile.
- Spicy Cajun:
Coat your chicken in Cajun seasoning and add a dash of hot sauce for a fiery kick.
What to Serve with Baked Chicken Leg Quarters
No meal is complete without the perfect sides to complement your baked chicken. Some popular pairings include:
- Mashed potatoes or roasted sweet potatoes
- Steamed green beans or a crisp salad
- Buttery dinner rolls or crusty artisan bread
- Cornbread or polenta for a Southern flair
For an all-in-one meal, add chopped vegetables (like carrots, potatoes, or zucchini) to your baking tray and roast them alongside the chicken.
Why Baked Chicken Leg Quarters Should Be a Staple in Your Menu
Chicken leg quarters aren’t just easy to bake—they’re also incredibly versatile. From a cozy family meal to a sophisticated dinner with guests, these flavorful cuts fit a variety of occasions.
By mastering this simple dish, you open up endless opportunities to experiment with flavors, sides, and presentation while still enjoying a hearty, nutritious, cost-effective option.
If you’ve never tried baking chicken leg quarters this way, now’s the time to elevate your cooking game.


Leave a Reply